
Showing posts with label Superhero Antics. Show all posts

Recipe: Lemon Cake from CJ Redwine's DEFIANCE

Current Theme Song (aka what's playing on my ipod right now): Fairy Dance by James Newton Howard [Peter Pan soundtrack].


CJ Redwine is a darling. Let me just put that out there right now. And she has a debut novel coming out tomorrow. And... I've made a surprise for her. Yep, it's dessert time (oh my goodness. I think this may be the very first, full-on dessert I've ever created. Holy cow. I may have to check to verify this, but dude, this could be an epic moment).


Now ORIGINALLY I was going to invent a recipe for cinnamon rolls, since they are Rachel's (the main character of Defiance) favorite food (almost always an obvious choice for me). But then I saw a small, almost out-of-the-way mention of something that happens on Rachel's birthday, something significant to the story at hand. And it all happens over lemon cake. Now that plus the fact that CJ's husband is something of a cupcake god, and the fact that CJ loves lemony things, little bells started going off in my head and I changed course. Now she can make her very own version of Defiance cupcakes to celebrate whenever she wants. Surprise! :D


Before we plunge into the deliciousness that is this lemon cake of ohmygoodness, let me say this. This cake is LEMONY. It is intense, but it is so good. If you don't like lemon flavor, just scale it back a bit. I'll tell you where. Ready to get started?


Defiance Lemon Cake

1/2 lb (two sticks) unsalted butter, softened
2 1/2 C. sugar
4 large eggs, room temperature(ish. Yes, this is important)
7 lemons. This will =
1/2 C. lemon zest. 1/3 or 1/4 C if you want a less intense flavor

3 C. flour
1 tsp. baking soda
1 tsp. salt.
3/4 C. lemon juice (leftovers from the lemons you'll be using)
3/4 C buttermilk, room temperature
1/2 tsp almond extract
Yellow food coloring


 It's a miniature mountain o' lemons!


Grease and flour a pan of choice. I used a bundt cake pan because I liked the shape, but pick whichever you like. Make sure you grease and flour. Don't spray or use another method. This will help separate the cake from the pan and not leave a sticky residue on top, which is especially good for this presentation.

Cream the butter and 2 C. of the sugar with an electric mixer until quite airy.


While that is going on (or if you have a helper) it is time to zest the lemons! This may take longer than you'd think, so you may actually want to start this step before creaming the sugar and the butter. It's citrus. It will last. :)

If you have a micro-planer - brilliant. If not, a cheese grater will doing the job swimmingly. I went with the cheese grater because I am not sure how many have a micro-planer and I wanted to show it works just as well. ^_^


Nekked lemon :)


Add the eggs one by one, along with your newly grated lemon zest. Don't tell me that it doesn't look and smell gorgeous. Oh, and the reason why it is important to have the eggs at or near room temperature is so that they emulsify (bind) easier and stick to all the right bits in the cake. Same with the buttermilk you'll be adding in just a minute. :)
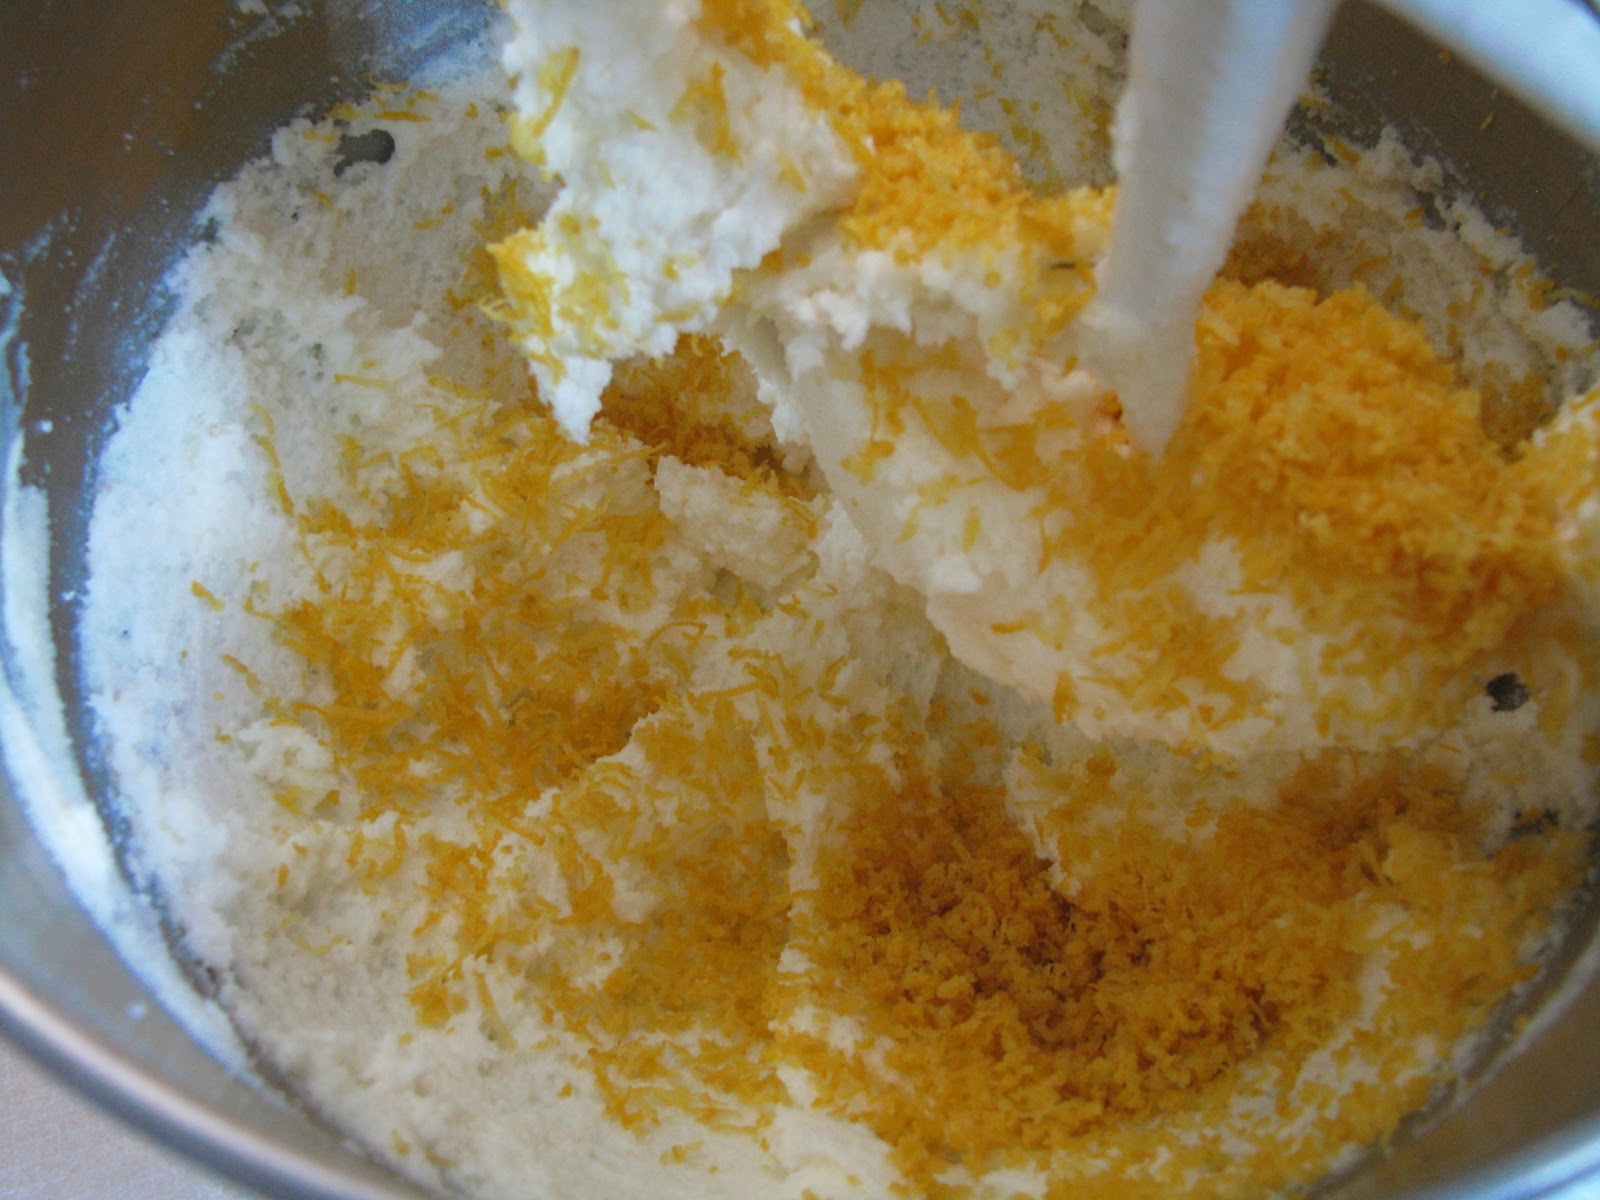


 In a separate bowl, add the flour, salt, and baking soda together.


In ANOTHER bowl, add 1/4 C of the lemon juice (freshly squeezed), buttermilk, vanilla, and almond extract. Basically liquid and dry in separate bowls.


 Before...


After. You want to get as much goodness out of these as possible. :)


Now, in small portions, combine each of the wet and dry ingredients into the first/main bowl. Now mix! (Yes, very bad me. I forgot to take pictures of this part). But this is what it looks like when it's done!


Here you add the food coloring. I'm not sure if I had weaksauce yellow, but it took me 15 drops before I thought it looked ready. But I did it in 3 drop increments. So don't go dumping it all in at once. You want it to be a rich yellow, not a fake yellow. Then, pour into the pan of choice and smooth it out.


Pretty...


Bake at 325 degrees Fahrenheit for 45 minutes to 1 hour, testing using a toothpick. And here is the trick with the toothpick test. You don't actually want it to come out clean. Because the internal temperature of the cake will continue to cook it, what you want is to have just a few moist flakes come out with the toothpick (we're not talking goo here). Then by the time the cake cools, it is absolutely perfect. ^_^


Once you pull your cake is ready, a couple of things will happen pretty quickly (but not like candy making. That stuff is insane). First you'll pull the cake out of the oven. While it begins to cool, put the remaining 1/2 C of sugar and 1/2 C of lemon juice into a sauce pan/pot. Heat and stir just until the sugar dissolves. Now you need to flip the cake over. For those of you who don't know, here is a neat little trick.

First, get a plate (or any flat, stable surface really). Cover the bottom of the pan.


Then literally turn the thing on its head in one quick, smooth motion.


With your supreme greasing and flouring skills, the cake should glide right out of the pan.


For a normal cake - voila! - you'd be done. (It's like a practical party trick) ;) But this is not an ordinary cake. So flip that sucker back over again.


Why? Because that lemon juice/sugar mixture you just whipped up. We're pouring it over the top. Well, bottom. We want it on the bottom because it is more pourous and it will soak in deeper and better into the cake, making it just that much more flavorful and moist. It's like heaven in a mouthful. (Why didn't we do this while still in the pan? Because the sugar content might have stuck to the sides of the pan, this making it not come out clean). Pour the lemon liquid over the cake.


Doesn't that look delicious? Wait until it is cool. Or not. Then, feast! Bon appetite, everyone!


A New Recipe! For the book For Darkness Shows the Stars.

Current Theme Song (aka what's playing on my ipod right now): Library of Congress by Trevor Rabin [National Treasure soundtrack].


Are you ready? It's recipe time.


If you haven't picked up a copy of For Darkness Shows the Stars (isn't that the most thought-provoking title? Love it!), you really should. It's a great read, and you'll appreciate this recipe a lot more.

Cause guess what you guys? I've done another first. Several actually, with this book recipe.


1. I've never created a book recipe that was "inspired by" and not specifically mentioned in the book.

2. I've never invented a recipe for something I did not at least have a familiar understanding of before.


I told you this recipe was very likely one you've never heard of before (not unless you happen to be Maori). It made for one heck of an adventure during testing since I had no idea if I was getting it right or not!


Before I tell you what it is, let me give you some secret tidbits delving into the world of For Darkness Shows the Stars.


The first thing I picked up on were the stars Elliot mentioned. Scorpius, Pegasus, Phoenix and others. It piqued my interest. These were all stars in the southern hemisphere. That was new to me. I contacted Diana to ask her about it and found out Elliot's island was inspired off of New Zealand, and in fact makes several subtle allusions to her (Elliot's) Maori heritage.


Ideas started to sprout in my mind. Wheat plays an important part of the story (I won't tell you what, but it happens in the first chapter), as does the sea. Because of their fear of technology, they have been very isolated to their close group of islands for some time. That plus Kai being an explorer made the sea a strong and natural choice to blend together, since it was also very representative of Elliot and Kai themselves. So sea... Salt. It was obvious. Wheat and salt...


And because of their aversion to technology, I wanted this to be a very traditional recipe. To tie in even more, I thought it would be freakishly cool if I could find a traditional Maori recipe for what else but bread? :) And there I found Rewena Paroa.


Now you might be stopping here going "Wait Heather! You tricked me! Bread is EVERYWHERE. Of course you know how to make it! I will spit on your grave for this." But what makes this bread different is how it is made. Instead of yeast (they didn't have it back then) they used fermented potatoes as a levener to make the bread rise.


*pauses*


Yes, we are using spoiled, gas-passing potatoes to make bread.


Stop staring at me like that.


It's good. (And if you think about it, it is genius of the Maori).


This is a way of making bread rise I've never heard of before. And neither has just about anyone in North America, apparently. Trust me, I checked out every fancy-pants artisan bread baking book in my library system (we have a very big library). The idea behind it was there, but not using potatoes specifically as a levener. It gives the bread a tangy, almost sour dough-like flavor. It's delicious.  Ready to get started? :)


First step. Plan three days in advance. This honestly was the hardest part because I had to think far enough ahead of when I wanted bread to start the rewena. But I'm getting ahead of myself. Let's get the ingredient list first.


Rewena

1 medium-large potato, cut into cubes
1 C. Water
1 tsp. Honey
2 C. Flour


Pour the water into small pot and add cubed potato bits. They should be covered by the water, but not by too much. If not, add a little more (more is better than less in this case). Boil until soft. DO NOT ADD SALT. This will kill all of the little buggies you are trying so hard to develop. :)

After they are tender when stabbed with a fork, turn off the heat and let the water cool down until it is luke warm. It should not take too long with this small amount of water. Once you can stick your finger in it without wanting to yank it out but feels comfortable instead, then you should be ready.

Take a potato masher, or fork, or any other utinsel of doom you desire to make this as smooth a mixture as possible.


Add the flour to a container (a clear on here is good. That way you can see when bubbles start to form). You want this mixture to be able to breathe, but you also want it covered (covered = more warm. Warm is your friend. Because it fosters new friends). :) That means either loose plastic wrap/aluminum/wax paper-(with rubber band) or one that has a lid placed loosely over it. Mine had a hole in the top. ^_^


Pour in the potato mixture. Stir in the honey, and cover with a lid.


Set in a warm place (I put mine in the window sill) for about three days. Give or take. This is up to your buggies.


Every day, stir in one tsp of sugar or 1/2 C unsalted water (alternate between the days). This feeds them.


 (on a water day)


I added water to the original pot, scraping the potato goo off the sides, and poured it into a separate bowl and left it on the counter, using that whenever I needed. If it developed more buggies to help the Rewena along, all the better. Any bad stuff would be cooked out in the oven, so I wasn't worried.


Then it starts to do cool stuff.


Yay! Little bubbles! Wait for it...


Bubble bubble, toil and trouble! Lots of little bubbles. And some bigger ones. Oh yeah.


NOW we're talking!


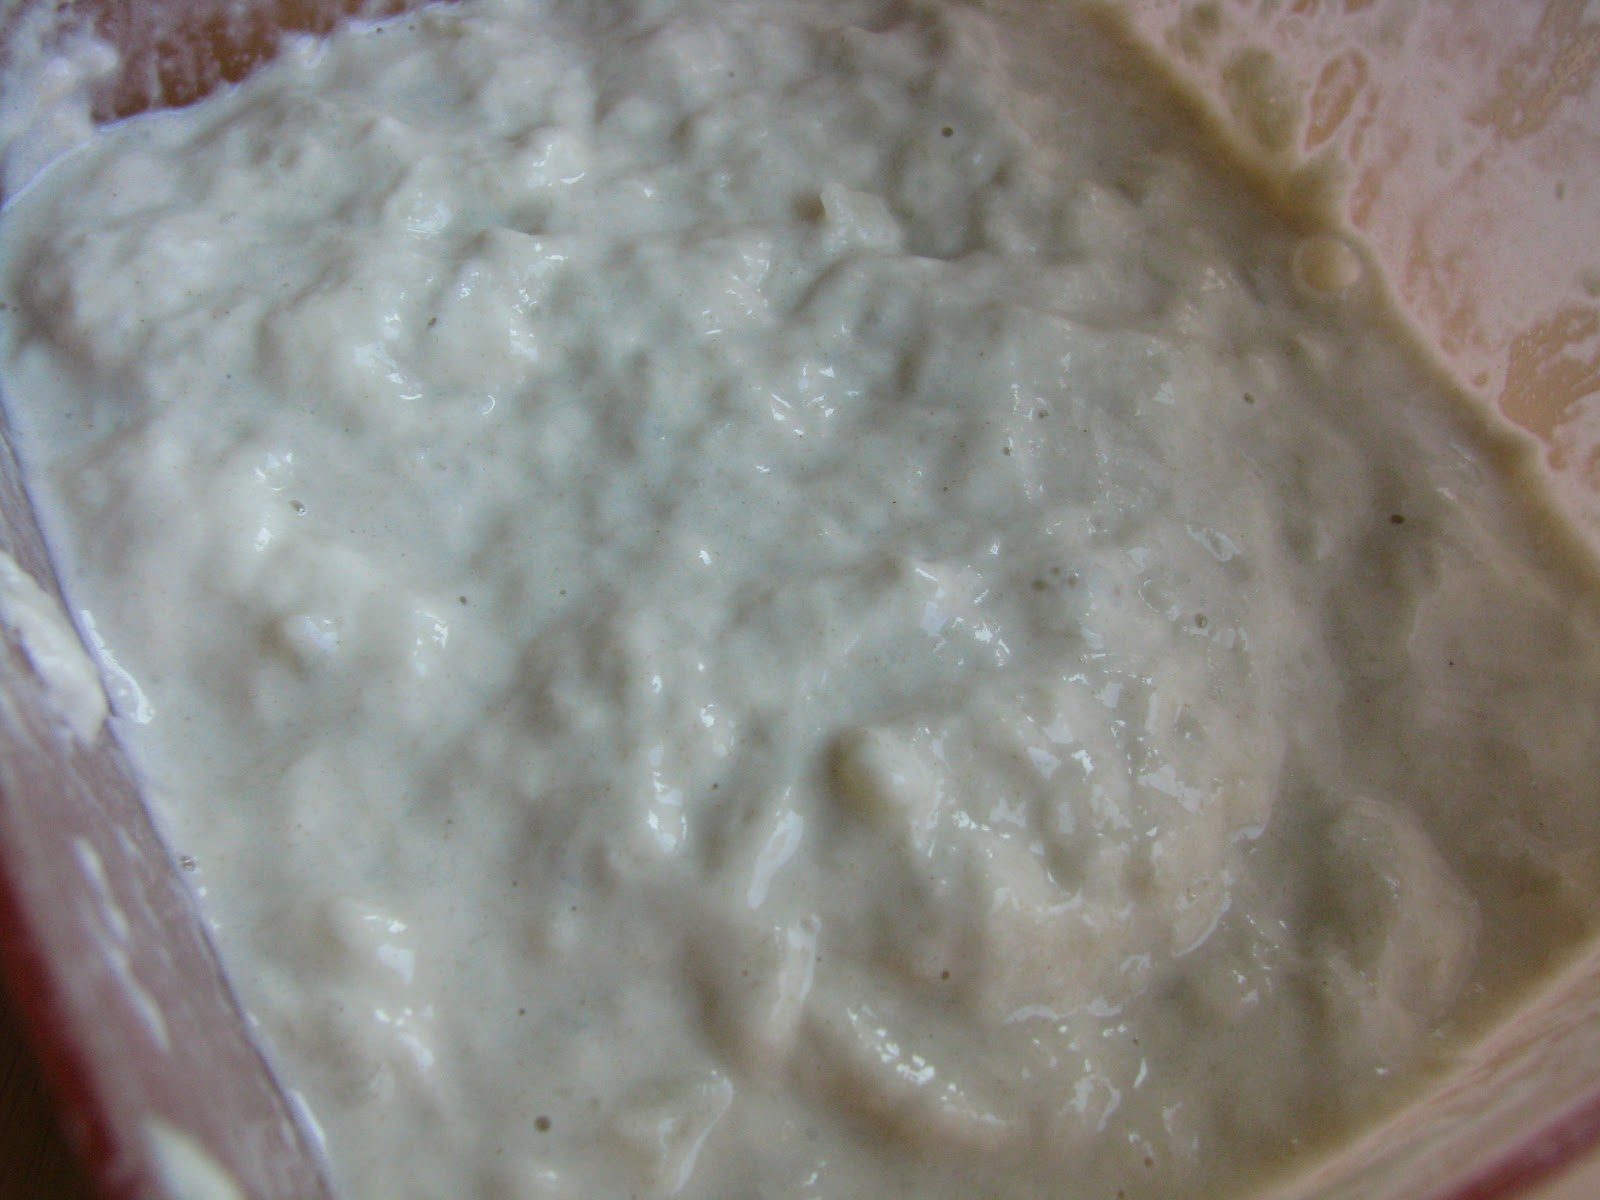
After you begin to see bubbles popping up all across the mixture and it is looking sticky yet liquidy, you are pretty darn close. Also, when you smell it, it should have a tangy odor to it, but not unpleasant. Almost like bread dough or sour dough, but a little different. My first time round it definitely did not smell like that. It should be a pleasant but slightly unusual, yet smells like something you would want to eat eventually.


The more bubbles the better. Especially good if you can see it all through the mixture.

If you can get more than this, even better.


Next step. The BREAD.


Rewena Paroa

4 C. Flour
2 tsp. Salt
1/4 C. Sugar
1 tsp Baking Soda
1 Tbs Olive Oil
1 Tbs Fresh Rosemary (fresh is worth it)


Put flour, sugar and salt into a large bowl. Stir together. Make a well inside the bowl for the Rewena.


Pour in the Rewena mixture. Sprinkle the baking soda on top.


Add the oil and rosemary. Mix together.


 Hello, little potato piece! My, don't you look dashing! :)


 Knead. Lightly if you want a fluffier loaf, more heavily if you want a denser one (you will be making gluten the more you knead it).


Set in a warm place for it to double. Two things I discovered in this process. Leaving it overnight does a fantastic job. But if you are pressed for time, sticking an electric hot pad underneath it does a good job of it as well (cover the top with a warm, damp cloth either way). Just remember to turn the hot pad back on after the automatic shut off. :)


After forming into a whatever shape you want your bread to take, sprinkle on top with sea salt to taste. (You were wondering when I was going to be adding the salt part, weren't you?) ;)


Bake at 350 degrees Fahrenheit until golden brown, roughly 30-40 minutes depending on the oven. It should sound hollow when rapped.


Eat warm or cool. Bon appetite!


*of a note. Every Rewena Paroa recipe I found (all three of them), it was straight up potato and bread. The rosemary and olive oil were my additions. I liked the flavor they added, and I figured after a post apocalyptic event and hundreds of years in the future, the recipe might have changed a little bit. :) I hope you enjoyed this one as much as I did!

Pieces of My Soul

Current Theme Song (aka what's playing on my ipod right now): King of Pain by The Police.


I love how many ways a story can be told in often the simplest ways. For those of you who don't know (it's been a long time since I've posted any of them) I have a great love of photography. It helps me see the world in a new way I've never seen before and allows me to capture a moment of pure beauty, simplicity, or power. So, not quite an adventure, but these are little pieces into my heart, and that is perhaps one of the scariest things I can offer you.

I am going to show you more tomorrow. I am feeling brave.